FREQUENTLY ASKED QUESTIONS
Please reach us at enquiries@fujimac.com.au if you cannot find an answer to your question.
A1. Check the following to identify the cause.
- Power is not supplied to the outlet.
→ Check whether power is supplied to the outlet. For example, connect another electrical device to the same outlet. - The auto-stop has been triggered within the product or one of its parts is damaged.
→ The auto-stop may be triggered due to impact during transportation of the product. Open the cover and check whether the auto-stop is properly set, and check for any damaged parts.
A2. Check the following to identify the cause.
- No power supply.
→ Check the outlet and plug. Insert the plug completely. - The auto-stop has been triggered.
→ The diaphragm/valves are damaged. If damaged, please replace. If not damaged, other possible reasons include auto-stop problems such as poor installation and disconnection due to impact. Check that it has been installed securely. - No electrical continuity.
→ A part may be disconnected. Perform a continuity check. If there are disconnected parts, request replacements or repairs from a maintenance company. - The bimetal circuit breaker has been triggered.
→ If the main unit becomes too hot, the bimetal circuit breaker will be triggered, stopping operation of the product. The likely cause is clogging on the discharge or inlet side of the product. Check for closed valves; clogging of the diffuser tube, air filter, and inlet; and similar problems. Remove any clogs that you find.
A3. Check the following and take action accordingly.
- Rattling is occurring due to, for example, a pebble being caught between the product and the base.
→ Remove all foreign material and place the product so that it does not rattle. - The screw of a part is loose.
→ Firmly tighten any loose screws. - Sound is trapped within the installation environment and is resonating. (Refer to the following figure.)
→ Install the product in a different location. - Sound travels through the pipes.
→ Attach a chamber.
[Examples of Installations That Are Prone to Noise]
- Installation in a narrow space between a building and a wall, a space surrounded on three sides, or a space with a ceiling.
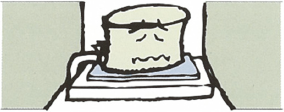
The sound is louder on the open side. - Installation on a base that is in contact with the foundation of a building (berm).
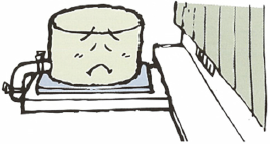
Vibration is more easily transmitted to the building. - The installation base is not level.
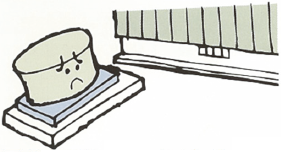
Vibration of the product increases. - Piping to the purification tank is in contact with the foundation of a building or another piping system.
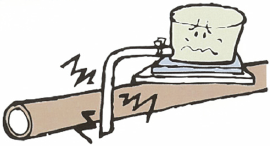
Sound travels through the pipes to the building.
A4. Check the following to identify the cause.
- Improper discharge pressure.
→ The discharge pressure cannot be too low or too high, as either can lead to the diaphragm being torn quickly. Remove the cause and adjust the discharge pressure to normal pressure ±20%.
Too highToo lowCauseDiffuser tube is clogged.Valve is closed.Piping is too long.Piping has damaged/loose parts.Blower failure.ActionCleaning/replacementValve adjustmentUse piping with a larger diameter.Repair/correctionRepair - The air filter or inlet is clogged.
→ Clogging in the filter prevents air flow, which leads to heat buildup in the solenoid. This heat can quickly damage the diaphragm. Clean or replace the filter. - The unit has suctioned up foreign material such as chlorine gas or oil.
→ Do not place the unit in a location where it can suction up oil or chlorine gas, or where it is exposed to direct sunlight with poor ventilation or to a lot of dust or particles, as this can quickly lead to tearing of the diaphragm. Move the unit to an appropriate location.
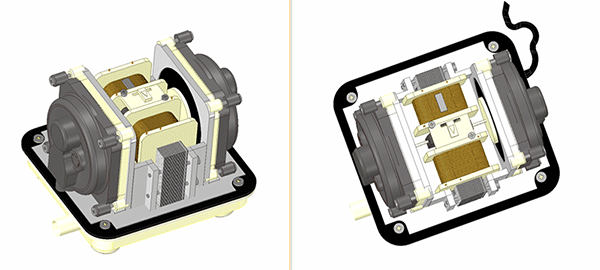
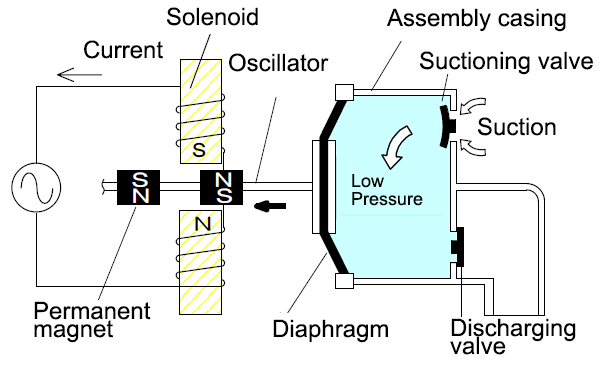
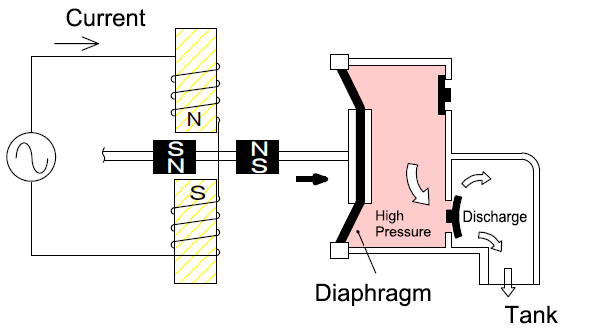
A5. The pump you purchased is a diaphragm pump. This pump works with an electromagnetic linear drive. The pump is driven by two opposing fixed electromagnets and an axially vibrating oscillator rod (equipped with permanent magnets). A diaphragm is attached to the oscillator rod on both sides, which together with the inlet and outlet valves produces the pumping function.
(1) Suctioning process
(2) Discharging process
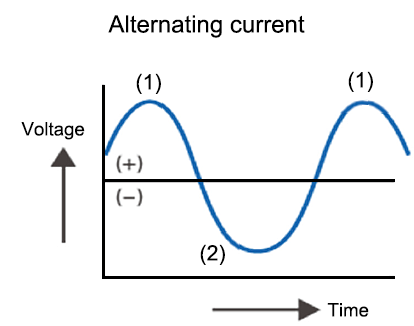
Operating Example